
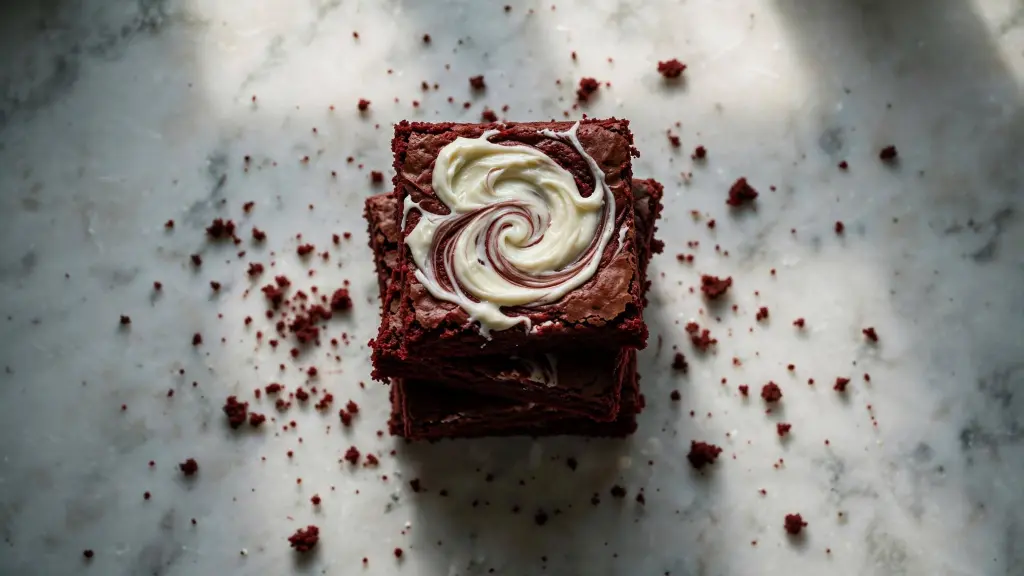
Red Velvet Brownies Recipe (Ready in 45 Minutes, No Mixer Needed)
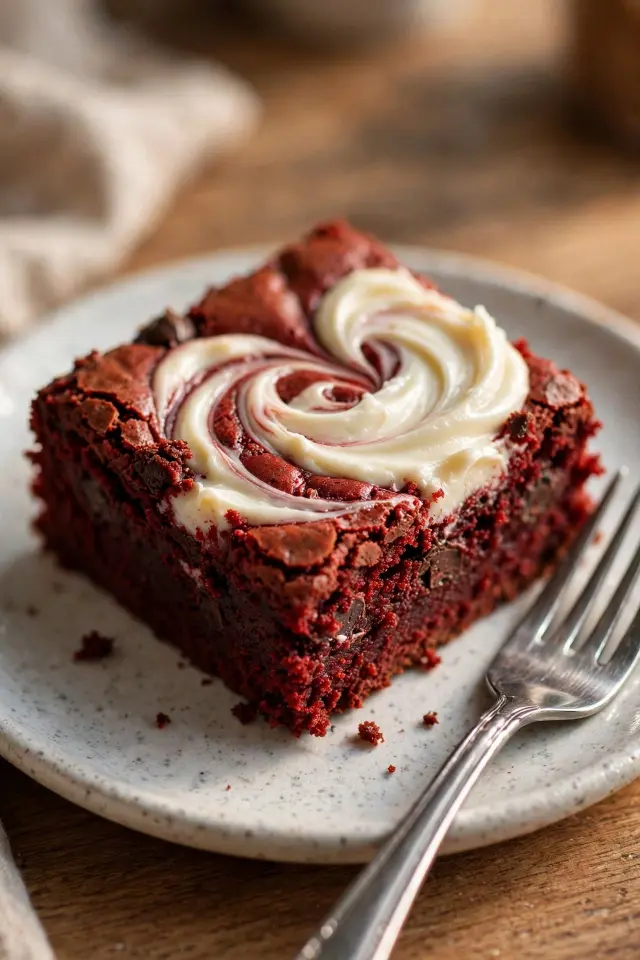
If you want deeply fudgy red velvet brownies with a tangy cream cheese swirl, you’re 45 minutes and one bowl away. This recipe skips the fuss of layer cakes while keeping that classic red velvet flavor — a little cocoa, a little tang, a lot of moist, dense texture.
I started making these the winter my oven decided a three-layer red velvet cake wasn’t in the cards (long story involving a lopsided pan and a very sad Valentine’s dinner). I wanted the flavor without the drama, so I turned my favorite fudgy brownie base into a red velvet situation instead. The first batch disappeared before it even cooled all the way — my husband kept sneaking corners straight off the cutting board, insisting he was just “checking doneness.” These have been in steady rotation ever since, especially around Valentine’s Day and Christmas, when that red color feels extra festive.
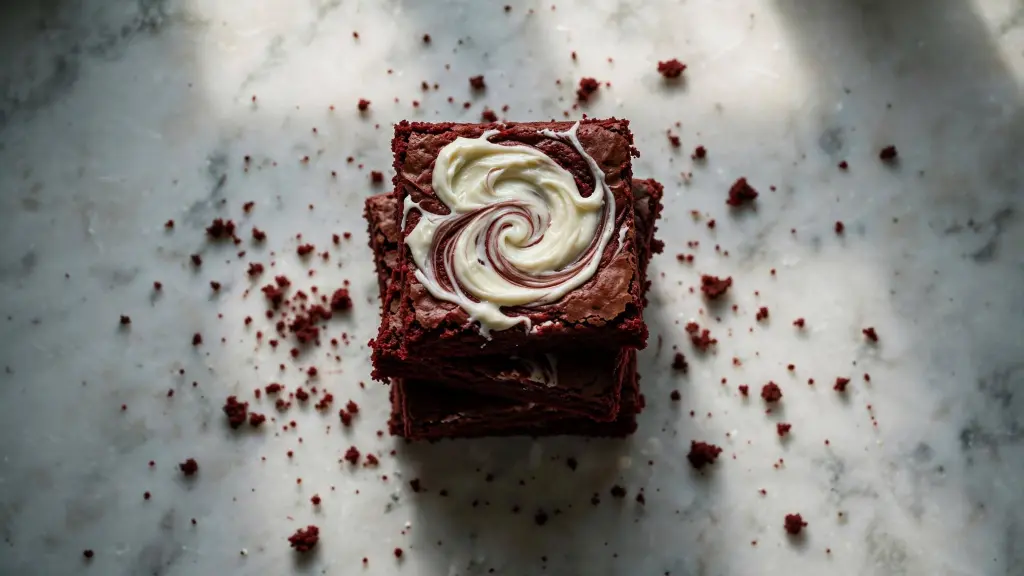
Recipe Snapshot
- Prep Time: 15 minutes
- Cook Time: 28-30 minutes
- Total Time: 45 minutes
- Servings: 16 brownies
- Difficulty: Easy
Why You’ll Love This Recipe
- Fudgy, dense texture — these are true brownies, not cakey red velvet squares
- One bowl for the batter, no mixer required
- That gorgeous marbled cream cheese swirl looks bakery-worthy but takes two minutes
- Real red velvet flavor: cocoa, a hint of tang, and a soft crumb
- Freezer-friendly, so you can bake once and enjoy for weeks
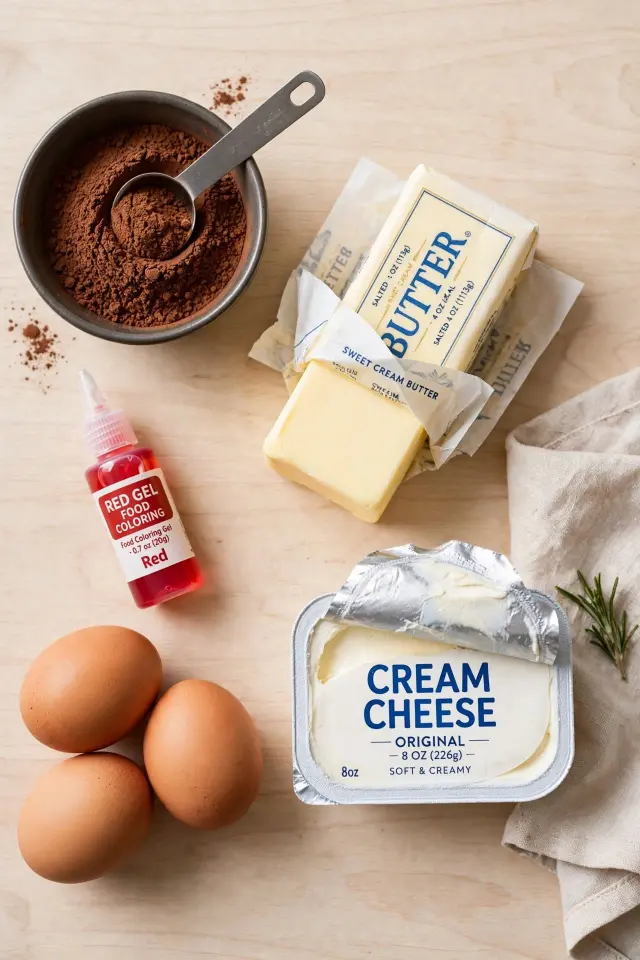
For the Cream Cheese Swirl
- 8 oz cream cheese, softened
- ¼ cup granulated sugar
- 1 egg yolk
- ½ teaspoon vanilla extract
Expert Tips for Perfect Red Velvet Brownies
- Don’t skip the parchment overhang. It sounds minor, but lifting these out cleanly instead of digging with a spatula keeps the edges intact and the presentation neat.
- Slightly underbake, don’t overbake. Pull them when the toothpick still has a few moist crumbs — carryover heat finishes the job, and this is the difference between fudgy and dry.
- Cold brownies slice cleaner. If you want sharp, bakery-style edges for photos or gifting, chill the pan for 30 minutes before cutting.
- Storage: Keep brownies in an airtight container in the fridge for up to 5 days, thanks to the cream cheese swirl. Let them sit at room temperature for 10-15 minutes before serving for the best texture.
- Freezing works beautifully. Wrap individual squares tightly in plastic wrap, then foil, and freeze up to 3 months. Thaw in the fridge overnight.
If you’re building out a dessert table, these pair nicely with Blue Salt Trick Recipe or alongside Banana Bread Recipe for anyone who wants extra frosting on the side.
Frequently Asked Questions
Why are my red velvet brownies not red enough?
This usually comes down to food coloring type — liquid coloring is weaker and can also thin your batter. Gel food coloring gives a much deeper, truer red with far less liquid added.
Can I make red velvet brownies without food coloring?
Yes, though they’ll taste the same and just look like fudgy chocolate brownies with a cream cheese swirl. The color is purely cosmetic, not part of the flavor.
Why do red velvet recipes use vinegar?
Vinegar reacts with the baking soda or cocoa in the batter, which helps tenderize the crumb and can also slightly intensify the red color’s brightness, according to [external cooking science resource on baking chemistry].
Can I use a boxed brownie mix and add red velvet flavoring?
You can, but the texture and cocoa balance won’t match this from-scratch version, and the cream cheese swirl really needs a fudgy, dense base to hold up against it.
How do I know when red velvet brownies are done?
The edges should look set and slightly pulled away from the pan, while a toothpick in the brownie portion comes out with a few moist crumbs, not wet batter. For more general guidance on doneness cues, [external baking reference source] is a solid resource.
Give These a Try
If you make this red velvet brownies recipe, I’d love to hear how the swirl turned out — snap a photo before they disappear, because trust me, they will. These are the kind of dessert that gets requested again before you’ve even finished the first pan. Pin this one for your next holiday baking list or Valentine’s dessert table, and if you’re hunting for more, check out Ice Water Hack Recipe or browse Lemon Basil Pasta Salad for what to bake next. Happy baking, friend.
2 Comments